
 Images for a website is vital for your success. Don’t they say a picture is worth a thousand words?
People are more and more inclined toward visual content on the internet. By all means, you want to avoid a blog post that is a sea of words. It’s just hard to read!
In this lesson, we are going to learn where to get free images for a website, how to modify them and add them to your page.
Here are the previous lessons covered in this Online Income 101 series.
Lesson 1: Pick a niche
Lesson 2: Pick a website title
Lesson 3: Purchase a Domain name (You can skip this step for a free website)
Lesson 4: Create a website
Lesson 5: Set up a website first time
Lesson 6: Plan the site structure
Lesson 7: Write content!
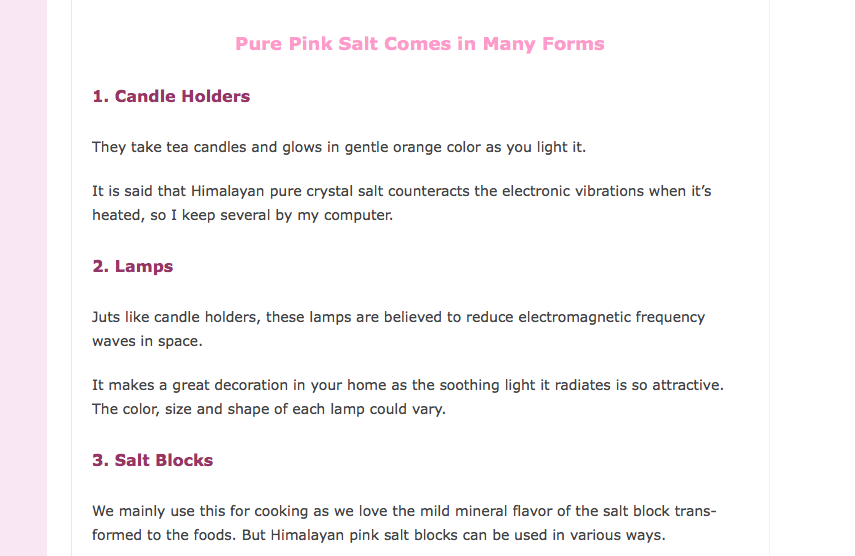
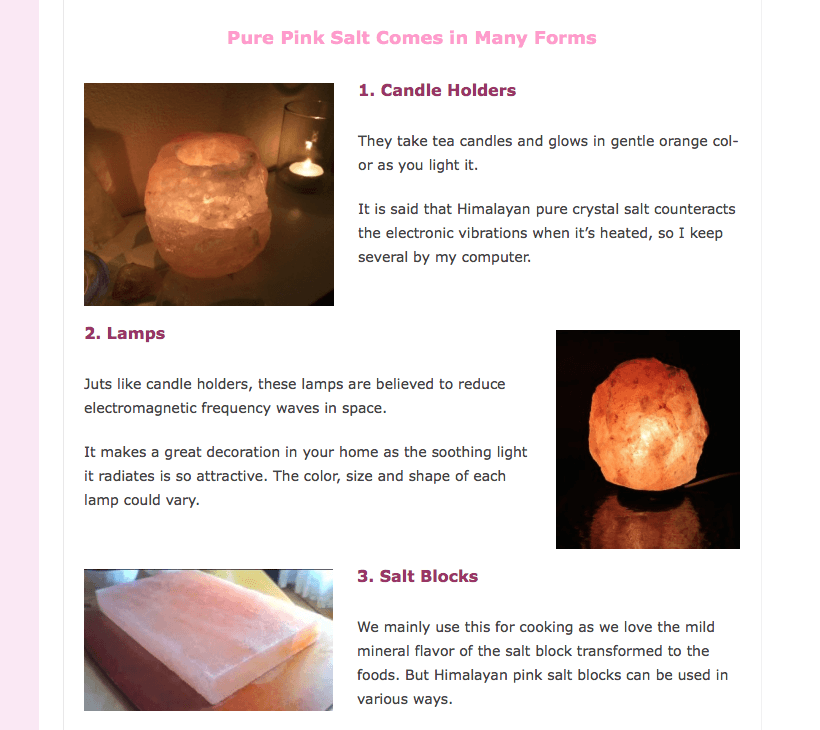
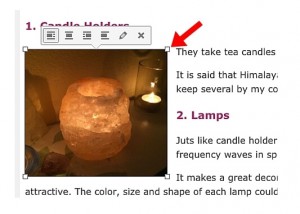
See the example below? This is an actual page on my new website: purepinksalt.com. It is obvious which one is more appealing and provide a better experience for your readers.
Before images:
After images:
Where to get free images for a Website
There are sites that sell images but you don’t necessarily have to spend money to get good ones. I normally go for free images.
These are the places where you can find great free images for a website in the order of my preference. Not everything you find on some of the sites below is free, but you can definitely find tons of relevant images that you can utilize for your content creation.
Also, pay attention to the terms attached to each image. Some may require you to attribute to the source. You can read more about how to safely use free images: How to Get Free Images for Your Website.
Be careful with Images on Google!
When you Google search online, I know you find lots of images in the search results. Do not just save those pics on your computer and place them on your website. Most of images on Google are not free to use!
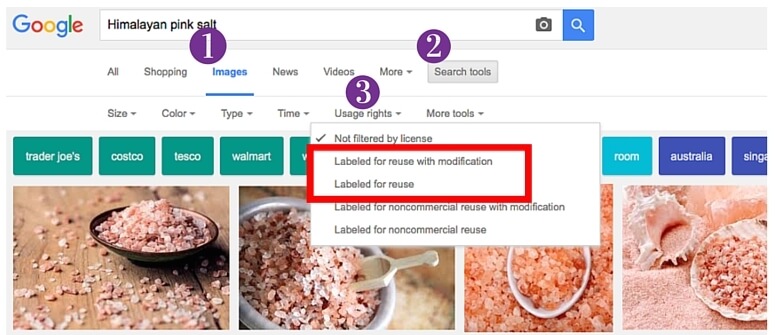
First and foremost, you must filter those images.
Click on Images > Search tools > Usage rights, and choose either Labeled for reuse with modification or Labeled for reuse. I always choose Labeled for reuse with modification since I almost always modify my images as I explain in the next section.
Although images in the new results, after filtering, are free to use, many still require you to give attribution to the original creator. Click on the image of your choice and carefully read the license. It should explain how exactly they want you to attribute the author.
Now you get the idea. Finding completely free images on Google is not as simple as we may like.
Here is a wonderful tutorial that walks you through step-by-step how to use Google images safely: How to Find Free Images on Google – The Correct Way
Make Your Own Creations
The longer you stay in the online marketing world, you’ll realize many websites use similar images in their articles. To stand out from the crowd, why not add your own taste and make your images unique?
I use Canva.com, a free online tool that allows you to create your own graphics. For instance, the image you saw in the previous section with numbers and a red frame added, I made it with Canva.
Images like that makes it extremely easy to convey a message.
You can also create beautiful banners or featured images for your content.

They come in handy when you share your pages on Social Media such as Twitter, Pinterest and Instagram as they are visual-oriented. Remember, your readers can easily “Pin” the images in your post. Having relevant and attractive images are crucial for social media marketing.
Related article: What is Canva? – Make Your Own Banner Free
Compress Them!
This is something I didn’t know in the beginning and eventually had to re-do all of my images. Be sure to compress them before you upload!
It prevents slow down to your site’s loading time. Online users are impatient. They are not going to wait around when your site is taking 10 seconds to load.
So, you don’t want to place a picture of file size 3 MB on your page. If you really need to use it, compress it.
My images are usually 150KB to 350KB but I anyway compress all of them to keep the pages light. For this, I use a free tool called TinyJPG.com.
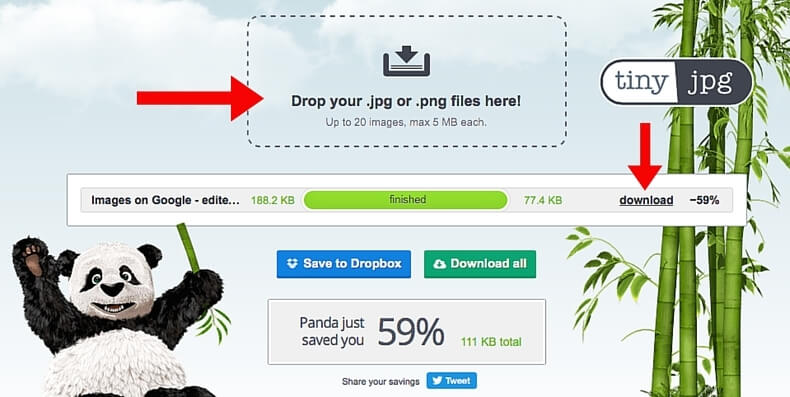
All you have to do is go to the site > drop the original in the space provided > wait while it’s being compressed > and click “download.”
As you see in the screenshot above, this image was 188.2 KB originally but was reduced to 77.4 KB after compression.
How to Add Images to a WordPress Website
Now your images are ready to upload so let’s add them to your website.
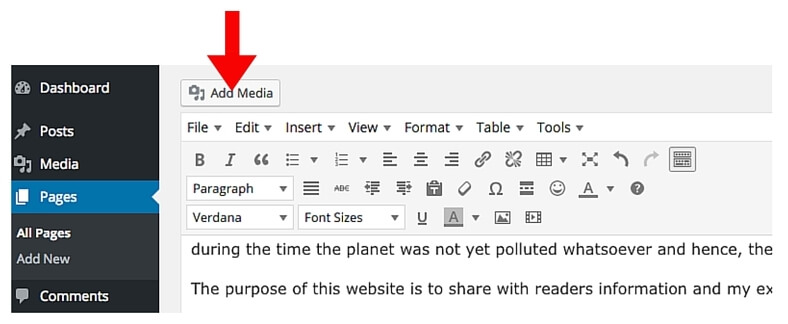
In Lesson 4, you created a website with SiteRubix.com so your site is a WordPress Website. Login to the Dashboard, open a post or page you wish to add an image to, and click “Add Media” on top.
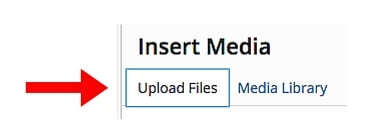
Click Upload Files. Select the image you want to use.
Now, you need to do three things:
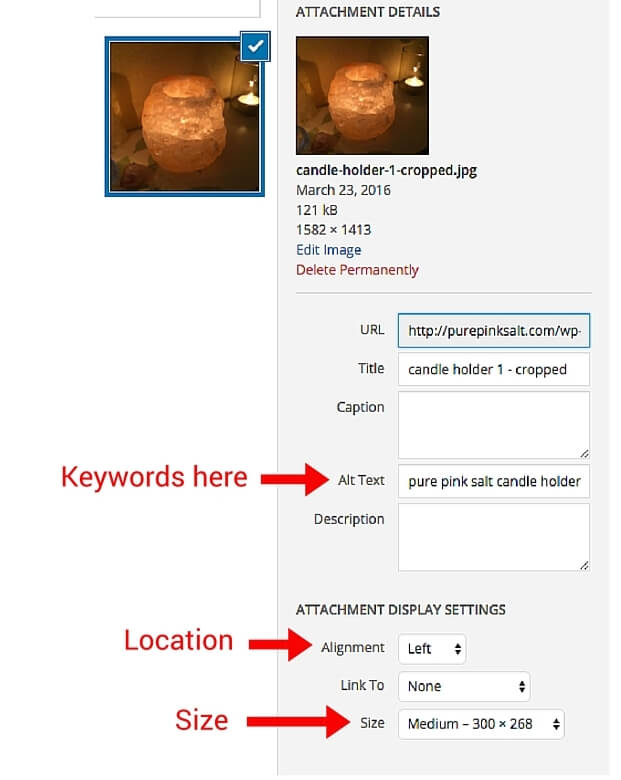 Put Alt Text (not the Title)
- Choose the location within the text (right, left or center)
- Decide on the size to display the image
Alt Text is how Google recognize the image. Googlebot cannot see the actual picture but can read the name attached to it.
For the purpose of SEO (more on this in the next lesson), use keywords for your Alt Text. Preferrably, the title of your page.
Then choose the location. If the image is rather large, place it in the center. If you are going with a smaller size, I recommend you to place it on the right of the text rather than left. (like I did here)
Studies show that human brains read web content in a F-shaped pattern, meaning people first read the upper part of the page and then start scanning down the left side of the content.
So if you don’t want to interrupt the natural flow of eye movement, you may want to stick to the layout of text on the left and images on the right.
 After you’ve inserted an image within the text, you can still adjust the size by pulling one of the four corners.
Check how the layout turned out in the Preview section.
To go to the Preview section, hit “Save Draft” in the upper right corner of the draft editor section and click “Preview.”
Images for a Website – Avoid this Common Mistake!
Utilize images to create a comprehensive article. Make the experience pleasant for your readers.
If your post is informative and also enjoyable, they stay longer on your site. The time they spend on your site (knows as “dwell time”) is a big factor in Google rankings. The longer, the better of course.
One thing you must be careful doing with images, though, is to place a large image above the fold.
Above the fold refers to the part of a web page that visitors first see on their browser window, without scrolling down, when they visit your page.
If an image occupies the upper space, your audience wouldn’t get much information when they arrived, and more likely, many would hit the back button rather than bother to scroll down. You don’t want that.
Keep the one above the fold small (like I did on this page) and in the area below the fold, place relevant images as you go.
That’s all folks! I hope this lesson helped you understand how you can implement images for a website.
As always, I want to hear from you! Leave comments, concerns and questions below. I’ll see you in the next lesson. 🙂
Yuko


Hi Yuko, as a beginner myself I find your site excellent. It is informative, as well as clear and concise.
I’ve seen some confusing sites and some which just waffle on but this is great stuff. Can’t get bored or distracted here. It’s truly a no nonsense site. Excellent work and good luck going forward.
Ali
Hi Ali,
Thanks for the nice comment and I am glad you found my site informative. When I first started out online, all the basic terms were so confusing and overwhelming that I created this tutorial to help beginners understand the process better. I am happy to know that it is helping you as a beginner. I guess my background as a teacher is contributing here a lot. Let me know if there is anything I can help you with on your online endeavor.
Yuko